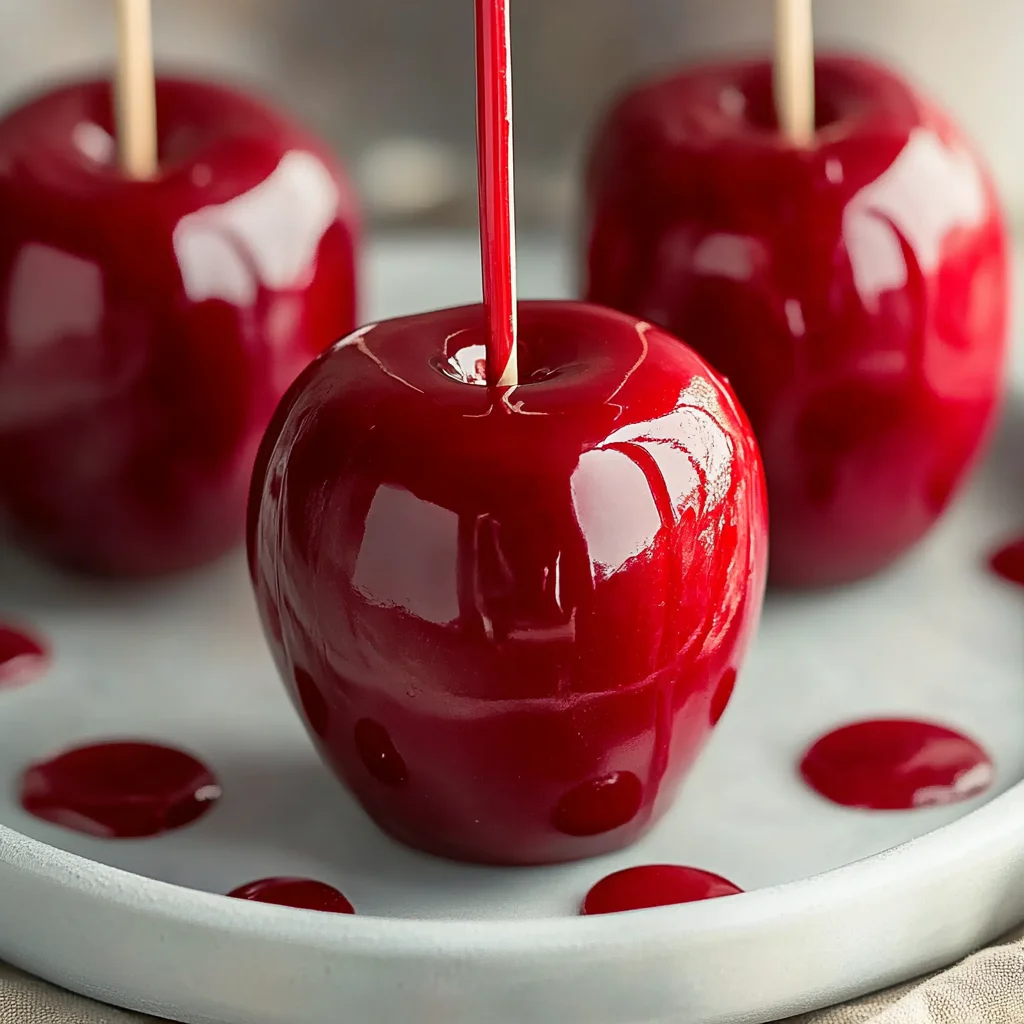
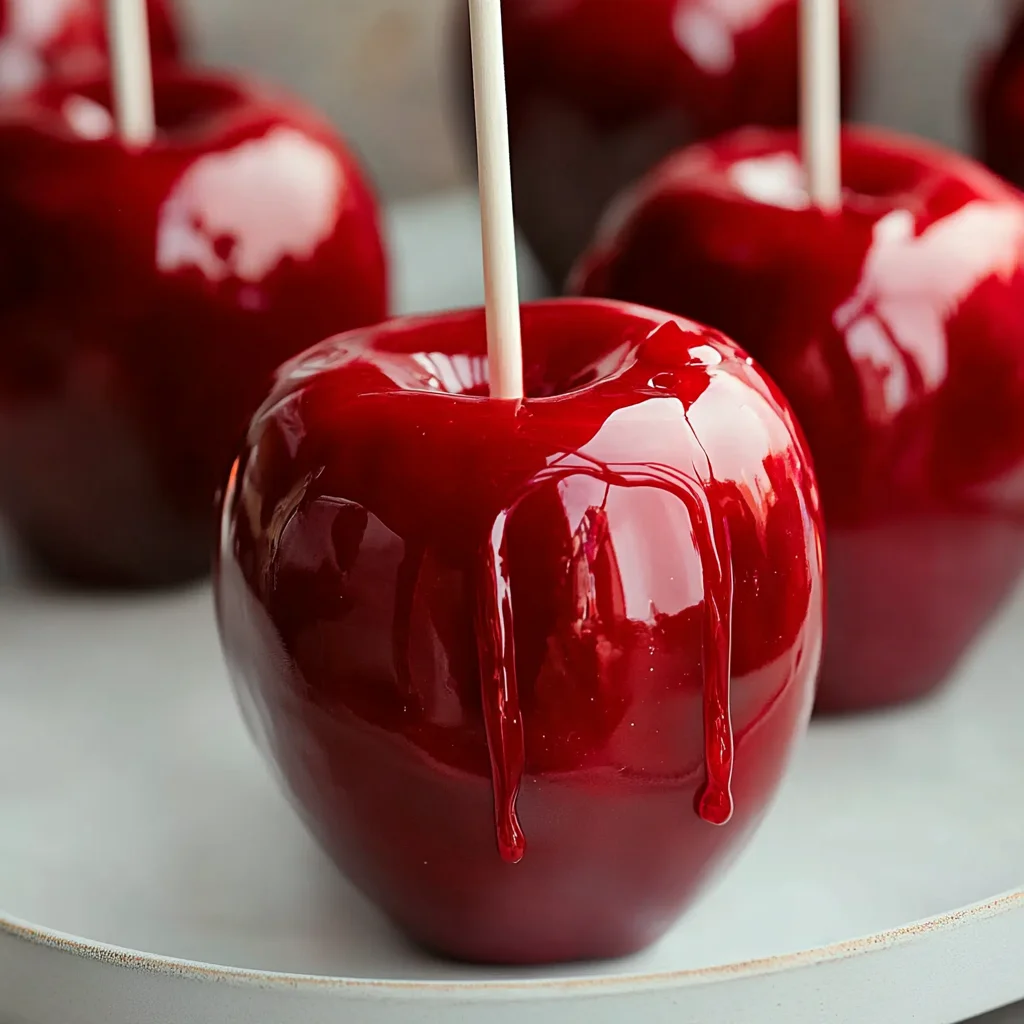
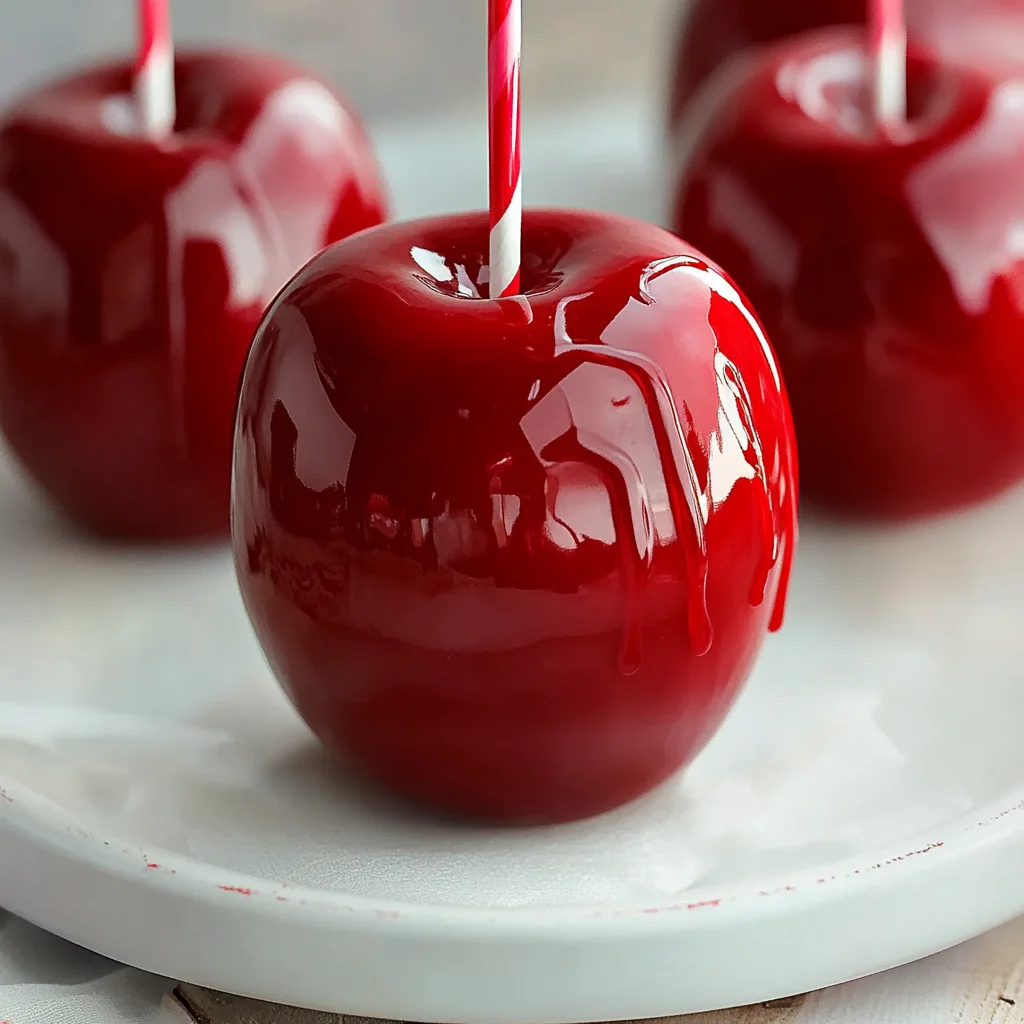
Recreate the nostalgic experience of childhood fairs with Classic Red Candy Apples: Old-Fashioned Fair Treat! This delightful recipe features tart, crisp apples coated in a glossy, sweet candy shell. Perfect for fairs, parties, or simply as a fun family treat, these candy apples will bring smiles to everyone’s faces. The vibrant red color and satisfying crunch make them an irresistible option for any celebration.
Why You’ll Love This Recipe
- Nostalgic Treat: Capture the essence of childhood fairs with each bite.
- Easy to Make: With simple ingredients and straightforward steps, this recipe is accessible even for beginner cooks.
- Customizable: Feel free to experiment with different colors or add toppings like nuts or sprinkles.
- Perfect for Any Occasion: These candy apples are great for Halloween, birthday parties, or just a fun weekend activity.
- Visually Stunning: Their bright appearance makes them a standout dessert on any dessert table.
Tools and Preparation
Before you start making your classic red candy apples, gather the necessary tools and equipment. Having everything ready will ensure a smooth cooking process.
Essential Tools and Equipment
- Heavy-bottomed saucepan
- Candy thermometer
- Baking sheet
- Parchment paper
- Neutral oil
- Candy apple sticks
Importance of Each Tool
- Heavy-bottomed saucepan: Ensures even heat distribution, preventing sugar from burning.
- Candy thermometer: Allows precise temperature control to achieve the perfect hard candy texture.
Ingredients
Gather these ingredients to make your delicious classic red candy apples:
For the Apples
- Firm, Tart Apples (Granny Smith Recommended)
For the Candy Coating
- Granulated Sugar: 2 cups
- Light Corn Syrup: 1 cup
- Water: ½ cup
- Red Food Coloring: 1-2 teaspoons
For Assembly
- Candy Apple Sticks
How to Make Classic Red Candy Apples: Old-Fashioned Fair Treat!
Step 1: Prepare Your Apples
Start by cleaning and drying the apples thoroughly to remove any wax. This helps the candy coating stick better.
Step 2: Insert Sticks
Insert candy apple sticks into the stem end of each apple. Ensure they are secure so that they can be easily handled later.
Step 3: Set Up Your Baking Sheet
Line a baking sheet with parchment paper and lightly grease it with neutral oil. This prevents sticking once the candy apples cool.
Step 4: Combine Ingredients
In a heavy-bottomed saucepan, combine 2 cups granulated sugar, 1 cup light corn syrup, and ½ cup water.
Step 5: Heat Mixture
Place the saucepan over medium-high heat. Stir gently until the sugar dissolves completely.
Step 6: Boil Without Stirring
Once boiling, stop stirring. Attach a candy thermometer to the side of the saucepan.
Step 7: Monitor Temperature
Bring the mixture to a rolling boil and cook until the thermometer registers between 300-310°F (149-154°C).
Step 8: Add Color
Remove from heat and carefully stir in 1-2 teaspoons of red gel food coloring until well combined.
Step 9: Dip Apples
Hold an apple by its stick and dip it into the hot candy mixture. Rotate it to coat evenly.
Step 10: Remove Excess Candy
Let excess candy drip back into the pot before placing the dipped apple on your prepared baking sheet.
Step 11: Repeat Dipping Process
Repeat this process with all remaining apples. If your candy thickens too much, warm it slightly before continuing.
Step 12: Cool Before Serving
Allow the candy apples to cool completely for at least 30-60 minutes before serving. Enjoy your delicious treats!
How to Serve Classic Red Candy Apples: Old-Fashioned Fair Treat!
Classic red candy apples bring a delightful burst of nostalgia and sweetness to any gathering. Here are some fun serving suggestions that can elevate the experience of enjoying these iconic treats.
For Kids’ Parties
- Fun Presentation: Arrange the candy apples on a colorful platter and let kids choose their favorite flavors.
- Personalized Touch: Use food-safe markers to write each child’s name on the stick for a personalized treat.
As Party Favors
- Gift Wrap: Wrap each candy apple in clear cellophane and tie with a festive ribbon for a charming party favor.
- Tag It: Attach a small tag with a sweet note or recipe for guests to recreate at home.
At Fall Festivals
- Classic Stand Setup: Set up a booth with various toppings like crushed nuts or sprinkles for added flavor options.
- Warm Beverages: Pair the candy apples with hot cider or cocoa to complement their sweetness.
For Movie Nights
- Sweet Snack Bar: Create a dessert table featuring candy apples alongside popcorn, cookies, and other fun snacks.
- Themed Movie Choices: Choose classic family movies that evoke the spirit of fairs and carnivals for an immersive experience.
How to Perfect Classic Red Candy Apples: Old-Fashioned Fair Treat!
Perfecting your classic red candy apples involves attention to detail and technique. Follow these tips to ensure your treats come out beautifully every time.
- Bold Choice of Apples: Use firm, tart apples like Granny Smith for the best contrast against the sweet candy coating.
- Temperature Control: Ensure the sugar mixture reaches 300-310°F for the ideal hard candy texture without burning.
- Humidity Awareness: Aim to make these treats on dry days; high humidity can affect candy coating consistency.
- Stick Placement: Insert sticks deep enough into the apples but avoid pushing them through for easier handling.
- Cooling Time: Allow at least 30-60 minutes for cooling, ensuring the candy sets perfectly before serving.
- Storage Tips: Store any leftovers in an airtight container at room temperature to maintain freshness.
Best Side Dishes for Classic Red Candy Apples: Old-Fashioned Fair Treat!
Candy apples are delightful on their own, but pairing them with side dishes can create a well-rounded dessert experience. Here are some tasty options to consider:
- Cinnamon Sugar Donuts: Soft, fluffy donuts coated in cinnamon sugar offer a comforting contrast to the crunch of candy apples.
- Caramel Popcorn: Sweet and salty caramel popcorn adds an exciting texture that complements the crispness of the apples.
- Cheese Platter: A mix of sharp cheeses provides a savory balance to the sweet dessert—perfect for adult gatherings.
- Fruit Salad: A light fruit salad can refresh your palate after indulging in rich candy apples; opt for seasonal fruits.
- Chocolate Fondue: Serve warm chocolate fondue as an interactive dip option that pairs wonderfully with both apples and other fruits.
- Peanut Butter Dip: A creamy peanut butter dip can be served alongside apple slices or other fruits, enhancing both taste and nutrition.
Common Mistakes to Avoid
Making Classic Red Candy Apples: Old-Fashioned Fair Treat! can be tricky, but avoiding common mistakes will ensure perfect results.
- Ignoring apple preparation: Failing to clean and dry the apples properly can lead to a candy coating that doesn’t stick. Always wash and dry your apples thoroughly before dipping them.
- Not using a candy thermometer: Relying on visual cues instead of a thermometer can result in incorrect temperatures. A reliable candy thermometer is essential for the right texture.
- Dipping too quickly: If you dip the apples into the hot candy too fast, it may not coat evenly. Take your time to rotate each apple, ensuring an even coverage.
- Using overly ripe apples: Soft apples do not hold up well during dipping. Firm, tart varieties like Granny Smith are ideal for creating sturdy candy apples.
- Not considering weather conditions: Humidity can affect the candy coating’s quality. Aim to make your candy apples on a dry day for best results.
- Skipping cooling time: Cutting into the candy apples too soon can lead to a gooey mess. Allow them to cool completely for at least 30-60 minutes before serving.
Refrigerator Storage
- Store in an airtight container in the refrigerator.
- Best consumed within 3-5 days for optimal taste and texture.
- Avoid stacking them directly on top of each other to prevent damage.
Freezing Classic Red Candy Apples: Old-Fashioned Fair Treat!
- Freezing is not recommended as it affects texture and quality.
- If necessary, wrap each apple tightly in plastic wrap before placing them in a freezer-safe bag.
- Consume within 1-2 months if frozen, but expect changes in texture upon thawing.
Reheating Classic Red Candy Apples: Old-Fashioned Fair Treat!
- Oven: Preheat your oven to 350°F (175°C) and warm for about 5-10 minutes until slightly softened.
- Microwave: Place on a microwave-safe plate and heat for 10-15 seconds at a time until warmed through; be careful not to melt the coating.
- Stovetop: Use low heat in a saucepan and gently warm without direct contact with heat, monitoring closely.
Frequently Asked Questions
How long do Classic Red Candy Apples last?
Classic Red Candy Apples typically last 3-5 days when stored properly in the refrigerator.
Can I customize my Classic Red Candy Apples?
Yes! You can add toppings like crushed nuts or sprinkles after dipping them into the candy coating for extra flavor and texture.
What type of apples are best for this recipe?
Firm, tart apples such as Granny Smith are recommended for making Classic Red Candy Apples due to their crispness and balanced flavor.
How do I avoid sticky candy apples?
Ensure that your cooking environment is dry and that you follow the recipe instructions carefully, especially regarding temperature control.
Can I make these ahead of time?
Yes! You can prepare Classic Red Candy Apples ahead of time, but they are best enjoyed fresh within a few days of making them.
Final Thoughts
Classic Red Candy Apples: Old-Fashioned Fair Treat! bring back delightful memories of fairs and carnivals. Their vibrant color and sweet crunch make them an appealing dessert option any time of year. Feel free to customize with different toppings or flavors to suit your taste! Try making these nostalgic treats today!
Classic Red Candy Apples: Old-Fashioned Fair Treat!
Recreate the magic of fairs with Classic Red Candy Apples, a delightful treat that captures the sweetness and nostalgia of childhood. These candy-coated apples are easy to make and offer a satisfying crunch with every bite. The glossy, vibrant red shell not only looks stunning on any dessert table but also brings joy to gatherings, celebrations, or family fun nights. Perfect for kids’ parties or fall festivals, these classic treats can be customized with your favorite toppings like nuts or sprinkles. With simple ingredients and accessible steps, you’ll find yourself whipping up these delicious candy apples in no time—ideal for creating lasting memories!
- Total Time: 30 minutes
- Yield: Makes approximately 6 servings 1x
Ingredients
- 6 firm, tart apples (Granny Smith recommended)
- 2 cups granulated sugar
- 1 cup light corn syrup
- ½ cup water
- 1–2 teaspoons red food coloring
- Candy apple sticks
Instructions
- Thoroughly clean and dry the apples to ensure the candy coating adheres well.
- Insert candy sticks into the tops of each apple, making sure they are secure.
- Line a baking sheet with parchment paper and lightly grease it.
- In a heavy-bottomed saucepan, combine sugar, corn syrup, and water; stir over medium-high heat until sugar dissolves.
- Boil without stirring until the mixture reaches 300-310°F (149-154°C) on a candy thermometer.
- Remove from heat and stir in red food coloring.
- Dip each apple into the hot candy mixture, rotating to coat evenly; let excess drip off.
- Place dipped apples on the prepared baking sheet to cool for at least 30-60 minutes before serving.
- Prep Time: 15 minutes
- Cook Time: 15 minutes
- Category: Dessert
- Method: Candy making
- Cuisine: American
Nutrition
- Serving Size: 1 serving
- Calories: 265
- Sugar: 56g
- Sodium: 10mg
- Fat: 0g
- Saturated Fat: 0g
- Unsaturated Fat: 0g
- Trans Fat: 0g
- Carbohydrates: 67g
- Fiber: 3g
- Protein: 0g
- Cholesterol: 0mg
Keywords: Use firm Granny Smith apples for the best results. Make candy apples on dry days to avoid humidity issues that can affect the coating. Allow ample cooling time for perfect texture.