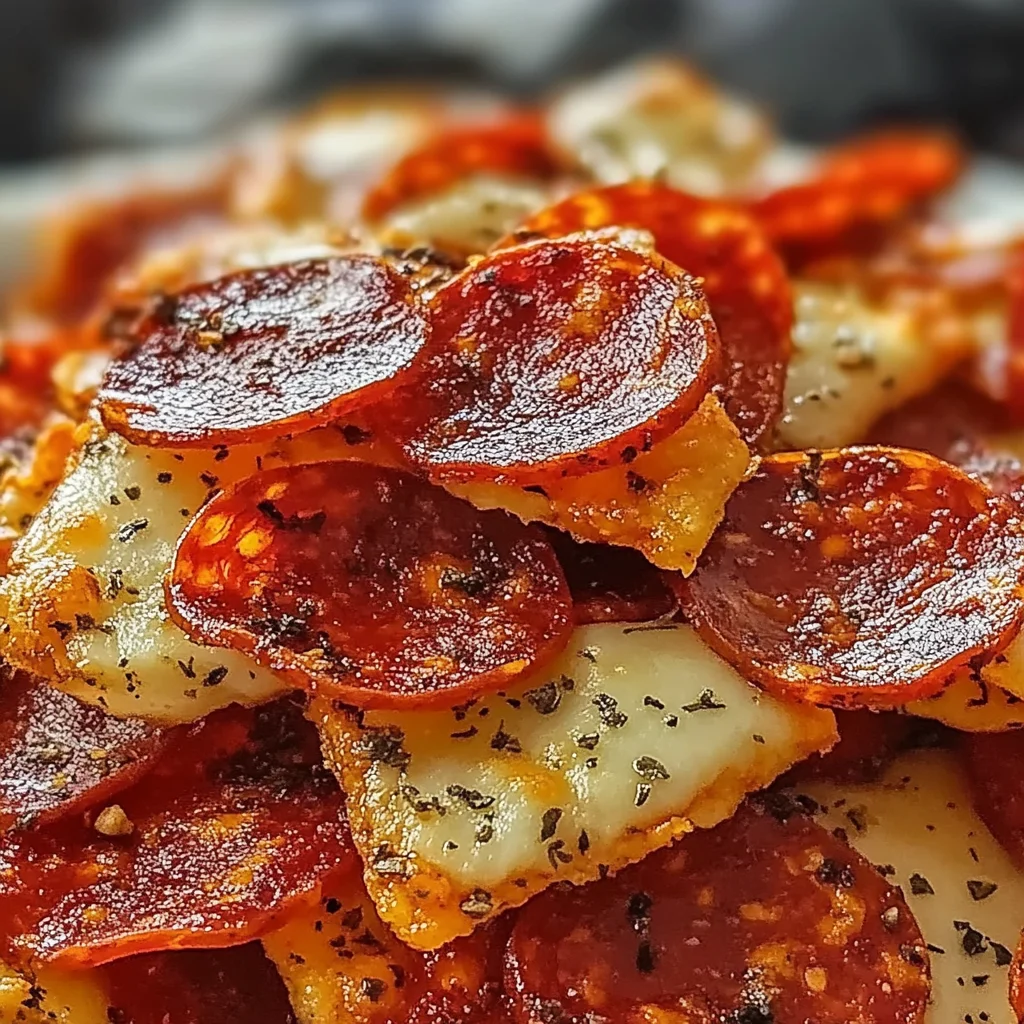
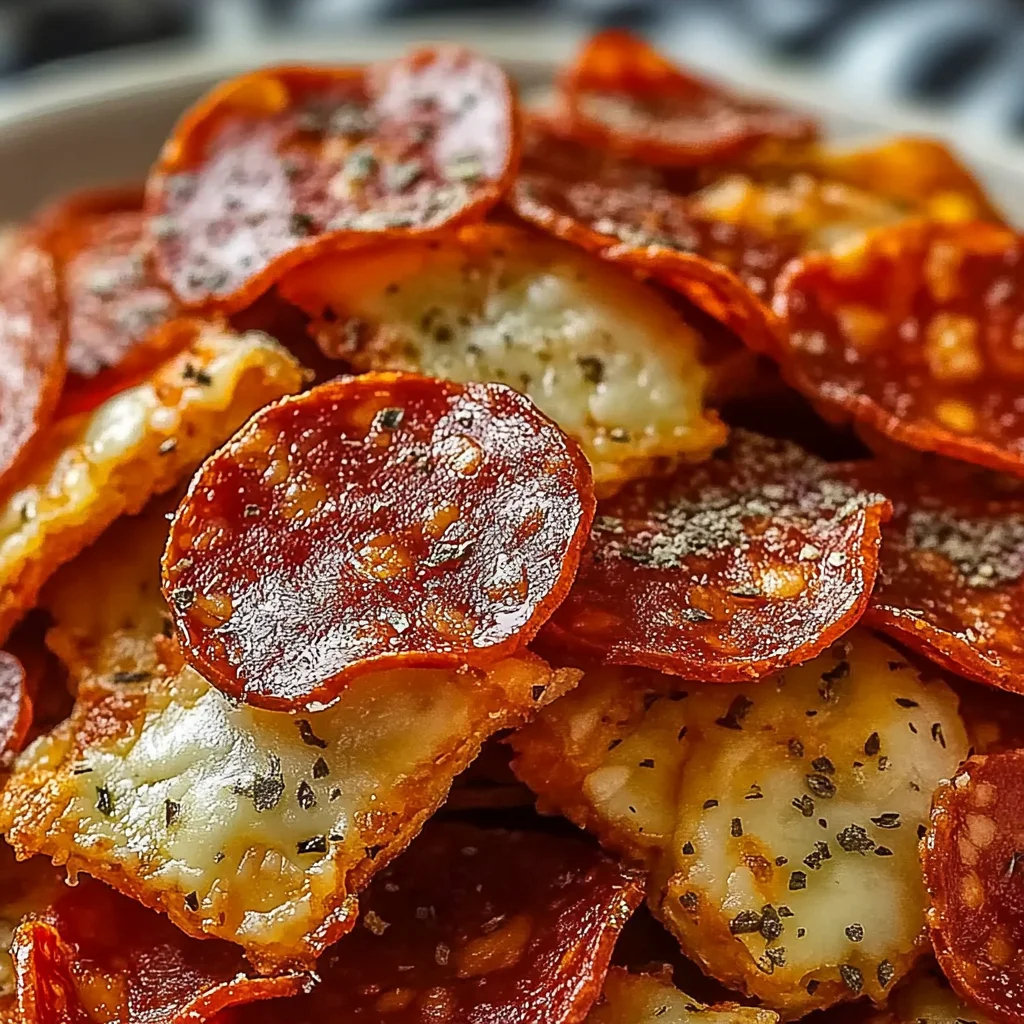
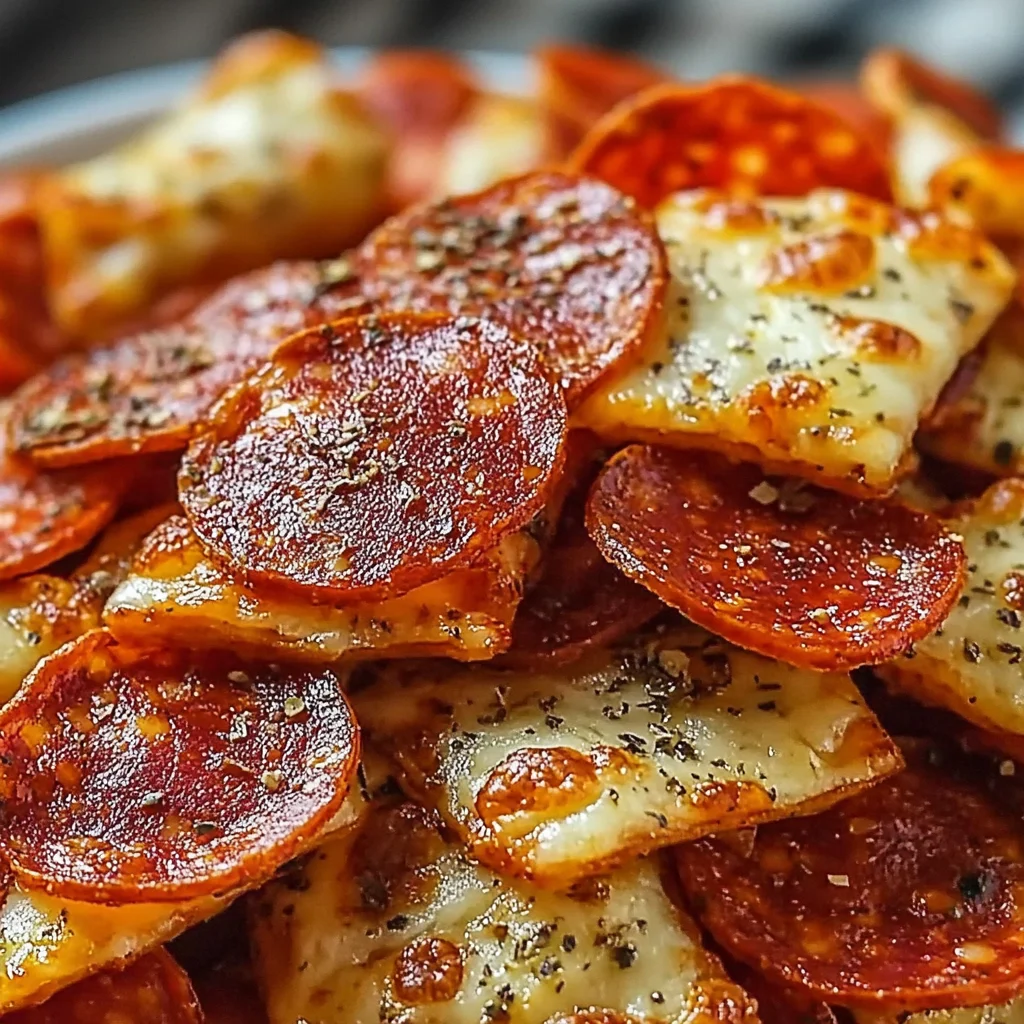
Crispy, flavorful Homemade Pepperoni Chips are the perfect low-carb snack for any occasion. Whether you’re hosting a party or simply craving a crunchy treat, these chips stand out with their bold taste and satisfying crunch. They’re easy to make and require minimal ingredients, making them a go-to recipe for both novice and experienced cooks alike.
Why You’ll Love This Recipe
- Quick to Prepare: With only 15 minutes from start to finish, you can enjoy your homemade pepperoni chips in no time.
- Low-Carb Delight: Perfect for those following a low-carb diet, these chips offer a guilt-free snacking option.
- Versatile Flavoring: Customize your chips with optional Italian seasoning or garlic powder for an extra flavor boost.
- Party-Ready Snack: Serve them as an appetizer at gatherings, and watch your guests rave about this unique treat.
- Kid-Friendly Fun: Kids love the crispy texture and cheesy taste. It’s a great way to introduce them to new flavors.
Tools and Preparation
Before diving into making these delicious chips, gather your tools. Having everything ready will streamline the cooking process.
Essential Tools and Equipment
- Baking sheet
- Parchment paper
- Oven
Importance of Each Tool
- Baking sheet: Provides a stable surface for even cooking of the pepperoni slices.
- Parchment paper: Prevents sticking and ensures easy cleanup after baking.
Ingredients
Crispy, flavorful pepperoni chips that are perfect as a low-carb snack or a party appetizer.
For the Chips
- 8 ounces pepperoni slices
- 1 teaspoon Italian seasoning (optional)
- 1/2 teaspoon garlic powder (optional)
For Garnish
- 2 tablespoons fresh parsley, finely chopped
How to Make Homemade Pepperoni Chips
Step 1: Preheat the Oven
Preheat your oven to 400°F (200°C). This step is crucial for achieving that perfect crispiness in your pepperoni chips.
Step 2: Prepare the Baking Sheet
Line a baking sheet with parchment paper. This helps prevent sticking and makes cleanup easier.
Step 3: Arrange the Pepperoni Slices
Place the pepperoni slices in a single layer on the prepared baking sheet. Ensure they do not overlap so that each slice crisps up nicely.
Step 4: Add Seasoning (Optional)
If desired, sprinkle the pepperoni slices with Italian seasoning and garlic powder. This adds an extra layer of flavor that enhances the overall taste of your chips.
Step 5: Bake Until Crispy
Bake in the preheated oven for about 8-10 minutes. Watch closely until the pepperoni slices are crispy and have curled up slightly—this is when they are at their best!
Step 6: Cool and Serve
Remove the baking sheet from the oven and let the pepperoni chips cool for a few minutes before serving. Enjoy them warm as a delightful snack!
How to Serve Homemade Pepperoni Chips
Homemade Pepperoni Chips are a versatile snack that can be enjoyed in many ways. Whether you’re hosting a gathering or simply snacking at home, these chips can add a delightful crunch to your meal.
As a Standalone Snack
- Enjoy them plain for a quick, satisfying low-carb snack that’s full of flavor.
With Dips
- Pair them with your favorite dips like guacamole or ranch dressing for an extra layer of taste.
On Salads
- Use pepperoni chips as a crunchy topping on salads to enhance texture and flavor.
In Charcuterie Boards
- Include these chips in charcuterie boards for an appealing and tasty addition alongside cheeses and olives.
How to Perfect Homemade Pepperoni Chips
Creating the perfect homemade pepperoni chips is easier than you might think. Follow these tips to ensure they come out crispy and delicious every time.
- Slice Thickness Matters: Choose thin slices of pepperoni for the crispiest results; thicker slices may not become as crunchy.
- Avoid Overlapping: Lay the pepperoni slices in a single layer on the baking sheet; overlapping can lead to uneven cooking.
- Keep an Eye on Baking Time: Monitor closely as they bake. Remove them from the oven once they’re crisp, usually between 8-10 minutes.
- Experiment with Seasonings: Try different spices like smoked paprika or chili powder to personalize your chips’ flavor profile.
Best Side Dishes for Homemade Pepperoni Chips
Homemade Pepperoni Chips can be complemented beautifully by various side dishes. Here are some fantastic options that pair well with this crunchy snack.
- Cheese Platter: A selection of cheeses like cheddar or gouda enhances the savory flavors.
- Vegetable Crudités: Fresh vegetables add crunch and freshness, balancing the richness of the chips.
- Stuffed Mini Peppers: These colorful bites filled with cream cheese offer a delightful contrast.
- Olive Tapenade: This spread provides a briny flavor that pairs wonderfully with the chips.
- Spicy Salsa: A zesty salsa brings heat and acidity that complements the savory taste of the pepperoni.
- Mixed Nuts: A bowl of assorted nuts adds more crunch and healthy fats to your snack spread.
Common Mistakes to Avoid
Making Homemade Pepperoni Chips can be easy, but some common mistakes can ruin your snack. Here are a few pitfalls to watch out for:
- Overlapping Slices: When arranging the pepperoni on the baking sheet, ensure they don’t overlap. Overlapping will result in uneven cooking and soggy chips.
- Ignoring Oven Temperature: Always preheat your oven to 400°F (200°C) before baking. A properly heated oven ensures that the chips become crispy instead of chewy.
- Skipping Seasoning: While optional, adding Italian seasoning or garlic powder can enhance the flavor. Don’t miss out on this step for a tastier snack.
- Not Monitoring Cook Time: Keep an eye on the pepperoni while baking. They can go from perfectly crispy to burnt quickly, so check them around the 8-minute mark.
- Serving Without Cooling: Letting the chips cool for a few minutes allows them to crisp up even more. Skipping this step might leave you with less crunchy chips.
Storage & Reheating Instructions
Refrigerator Storage
- Store your homemade pepperoni chips in an airtight container.
- They can last up to 3 days in the refrigerator.
- Make sure they are completely cooled before sealing to prevent moisture buildup.
Freezing Homemade Pepperoni Chips
- For longer storage, freeze your pepperoni chips in a single layer on a baking sheet.
- After freezing, transfer them to a freezer-safe bag or container.
- They can be frozen for up to 2 months.
Reheating Homemade Pepperoni Chips
To enjoy your leftover chips again, here’s how to reheat them:
- Oven: Preheat your oven to 350°F (175°C) and place the chips on a baking sheet for about 5 minutes until warm and crispy.
- Microwave: Place a few chips on a microwave-safe plate and heat them in short intervals (10-15 seconds) until warm. Be cautious as they can become chewy if overheated.
- Stovetop: Heat a non-stick skillet over medium heat and add the chips for about 1-2 minutes per side. This method restores their crunchiness effectively.
Frequently Asked Questions
How do I make Homemade Pepperoni Chips spicy?
You can add crushed red pepper flakes or cayenne pepper before baking for an extra kick. Adjust according to your heat preference.
Can I use different types of meat?
Yes! You can experiment with turkey or beef pepperoni slices for different flavors and textures in your homemade chips.
How do I store leftover Homemade Pepperoni Chips?
Store any leftovers in an airtight container in the refrigerator for up to three days, or freeze them for longer shelf life.
Are Homemade Pepperoni Chips keto-friendly?
Absolutely! These chips are low-carb and fit well into keto diets, making them a great snack option for those following this lifestyle.
Final Thoughts
Homemade Pepperoni Chips are not just crispy and delicious; they also offer versatility as a snack or party appetizer. Feel free to customize them with various seasonings or pair them with dips like guacamole or salsa. Try making this simple recipe today and enjoy your flavorful creation!

Homemade Pepperoni Chips
Crispy and delicious, Homemade Pepperoni Chips are the ultimate low-carb snack that everyone will love. Whether you’re hosting a gathering or seeking a quick treat, these chips deliver a satisfying crunch and bold flavor in just 15 minutes. Made with minimal ingredients, they are perfect for both novice and experienced cooks. Customize them with your favorite seasonings like Italian herbs or garlic powder for an extra flavor kick. Serve them as a standalone snack, pair them with dips, or add them to salads for a delightful twist. Enjoy these versatile chips any time you crave something crunchy and savory!
- Total Time: 15 minutes
- Yield: Approximately 4 servings 1x
Ingredients
- 8 ounces pepperoni slices
- 1 teaspoon Italian seasoning (optional)
- 1/2 teaspoon garlic powder (optional)
- 2 tablespoons fresh parsley, finely chopped (for garnish)
Instructions
- Preheat oven to 400°F (200°C).
- Line a baking sheet with parchment paper.
- Arrange pepperoni slices in a single layer on the baking sheet.
- Sprinkle with Italian seasoning and garlic powder if desired.
- Bake for 8-10 minutes, watching closely until crispy.
- Remove from oven and let cool before serving.
- Prep Time: 5 minutes
- Cook Time: 10 minutes
- Category: Snack
- Method: Baking
- Cuisine: American
Nutrition
- Serving Size: 1 ounce (28g)
- Calories: 150
- Sugar: 0g
- Sodium: 380mg
- Fat: 13g
- Saturated Fat: 4g
- Unsaturated Fat: 9g
- Trans Fat: 0g
- Carbohydrates: 1g
- Fiber: 0g
- Protein: 8g
- Cholesterol: 30mg
Keywords: Use thin slices of pepperoni for maximum crispiness. Avoid overlapping slices to ensure even cooking. Experiment with different seasonings like smoked paprika for unique flavors.