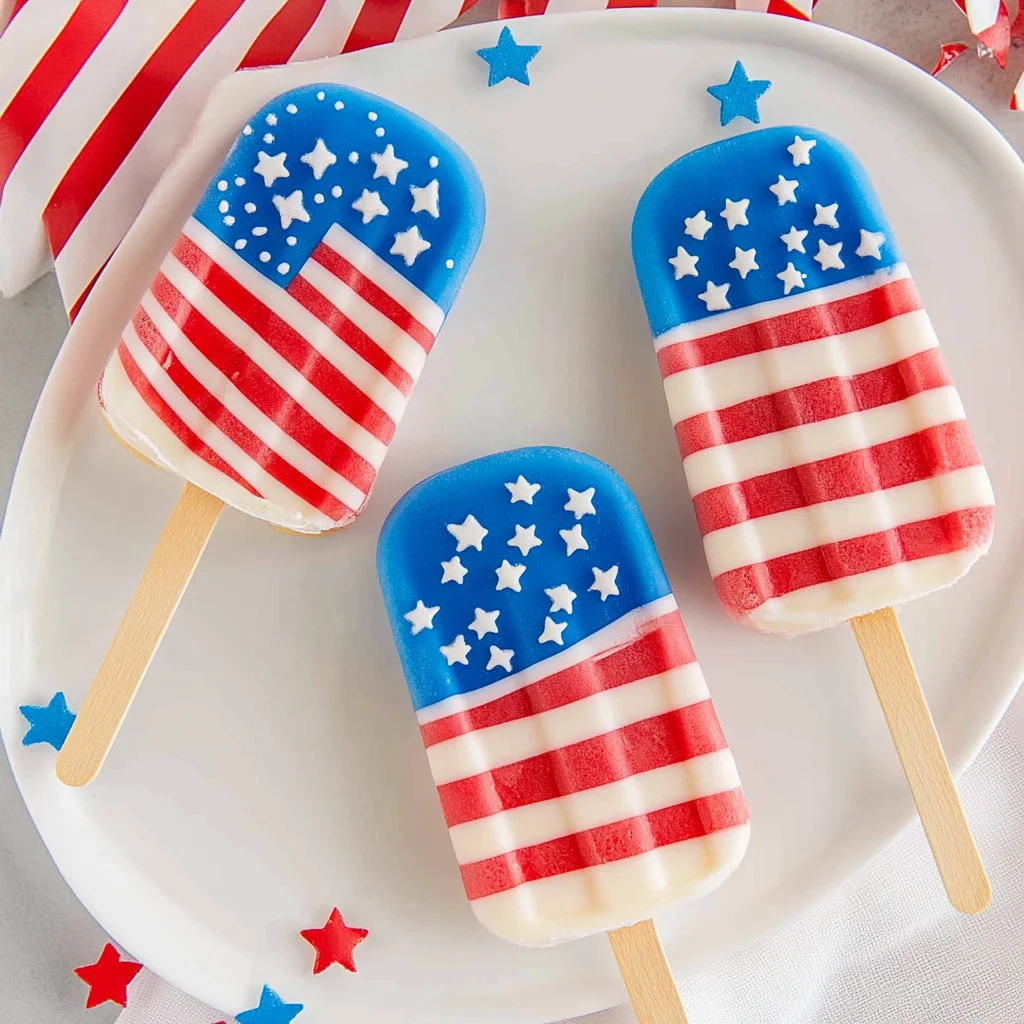
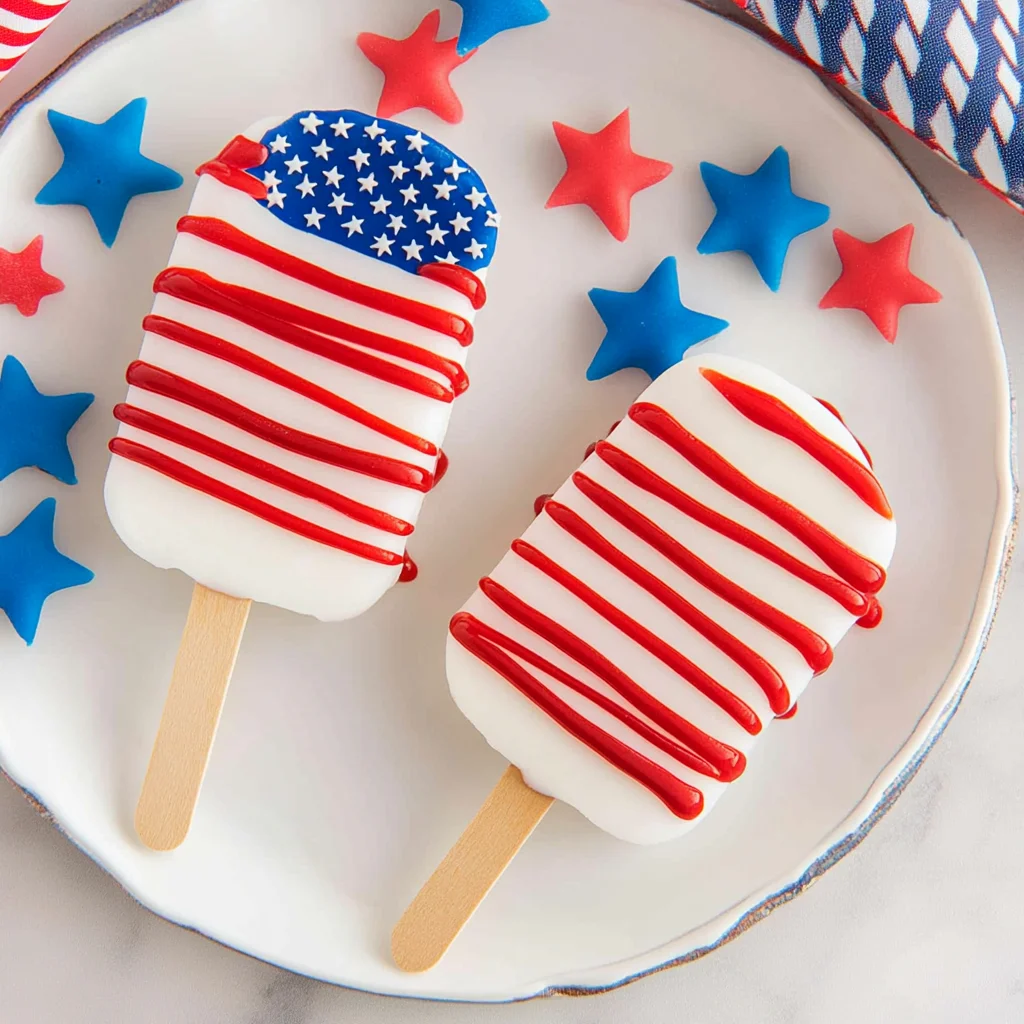
These festive 4th of July cakesicles are the perfect treat for your holiday celebrations! Made from leftover cake and frosting, they provide a fun and simple way to celebrate Independence Day. With their vibrant colors and easy preparation, these cakesicles are great for BBQs, picnics, or any summer gathering. Their standout quality lies in the delightful combination of flavors and the creative freedom you have with decorating.
Why You’ll Love This Recipe
- Easy to Make – No complex techniques required; just mix, mold, and dip!
- Great for Leftovers – Transform your leftover cake into a delicious dessert.
- Customizable Decor – Use different colors or sprinkles to match any occasion.
- Fun for Kids – Get the little ones involved in decorating their own cakesicles.
- Perfect for Parties – These treats are handheld and easy to serve at gatherings.
Tools and Preparation
Before diving into this delicious recipe, make sure you have all the necessary tools ready. Having the right equipment will streamline your process and ensure success.
Essential Tools and Equipment
- Cakesicle mold
- Mixing bowl
- Microwave-safe bowl
- Parchment paper
- Zip-top bags
Importance of Each Tool
- Cakesicle mold – This creates the perfect shape for your cakesicles, making them fun and easy to eat.
- Mixing bowl – A sturdy bowl helps combine ingredients effectively without making a mess.
- Microwave-safe bowl – Ideal for melting candy melts evenly without burning them.
Ingredients
Main Ingredients
- 3 cups crumbled cake (about half of a 9×13 cake or ½ a boxed cake mix)
- ½ cup vanilla frosting (store-bought or homemade)
- 2 cups white candy melts
- 1 tablespoon refined coconut oil (optional, for thinning the coating)
For Drizzle
- 1 cup powdered sugar
- 3 teaspoons water (as needed for drizzle consistency)
- Red and blue gel food coloring

How to Make 4th of July Cakesicles
Step 1: Prepare the Cake Mixture
- Crumble the leftover cake into a large mixing bowl using your hands or a fork until fine crumbs form.
- Add the frosting to the crumbled cake. Mix until it forms a dough-like consistency that holds together when pressed.
Step 2: Mold the Cakesicles
- Scoop the cake mixture into your cakesicle mold, pressing it firmly down.
- Level off the top with a spatula or your fingers.
- Insert popsicle sticks into each mold and freeze for about 30 minutes or until solid.
Step 3: Melt White Candy Coating
- In a microwave-safe bowl, melt the white candy melts in intervals of 30 seconds, stirring after each interval until smooth.
- If desired, add coconut oil to thin out the coating for easier dipping.
Step 4: Dip and Decorate
- Carefully remove the chilled cakesicles from the mold.
- Dip each cakesicle into the melted white coating, allowing excess chocolate to drip off before placing on parchment paper.
- In separate bowls, mix powdered sugar with water until smooth; tint with red and blue food coloring as desired.
- Transfer each color to zip-top bags and snip off a tiny corner for drizzling over cakesicles.
Step 5: Final Touches
- Drizzle red and blue icing over each cakesicle.
- Before drizzles set, sprinkle sugar pearl stars on top.
- Allow everything to cool and harden completely before serving or storing.
With these steps followed carefully, you’ll have beautiful 4th of July cakesicles ready to impress your friends and family! Enjoy!
How to Serve 4th of July Cakesicles
These festive 4th of July cakesicles make a fun and unique dessert that everyone will love. Serve them at your holiday gatherings for a delightful treat that captures the spirit of Independence Day!
On a Dessert Table
- Colorful Display: Arrange cakesicles on a festive platter with red, white, and blue decorations to catch the eye.
- Individual Wrapping: Wrap each cakesicle in clear cellophane tied with colorful ribbon for a charming party favor.
At a BBQ
- Easy Grab-and-Go: Place cakesicles in a cooler or on ice for guests to easily grab while enjoying outdoor activities.
- Pair with Ice Cream: Serve alongside bowls of vanilla or patriotic-themed ice cream for a delightful dessert combo.
For Kids’ Parties
- Fun Activity: Let kids decorate their own cakesicles with sprinkles and edible glitter before serving.
- Themed Plates: Use plates featuring stars and stripes to enhance the celebration theme.
How to Perfect 4th of July Cakesicles
Creating perfect 4th of July cakesicles is all about attention to detail and fun decoration. Follow these tips to ensure they turn out beautifully!
- Bold Mixing: Make sure to mix the cake and frosting thoroughly until you achieve a dough-like consistency for easy molding.
- Chill Well: Don’t skip freezing the cakesicles; this step ensures they hold their shape when dipped in chocolate.
- Even Coating: Dip each cakesicle smoothly into the melted candy melts for an even coat. Tap off excess gently.
- Drizzle Carefully: Use a steady hand when drizzling the colored icing for clean lines and appealing designs.
- Store Properly: Keep leftovers in an airtight container at room temperature or in the fridge to maintain freshness.
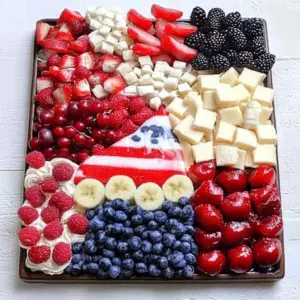
Best Side Dishes for 4th of July Cakesicles
To complement your festive 4th of July cakesicles, consider these delicious side dishes. They will add variety and flavor to your holiday spread!
- Grilled Corn on the Cob: Sweet corn brushed with butter and grilled until charred, perfect for summer barbecues.
- Potato Salad: A creamy or mustard-based potato salad adds heartiness and pairs well with sweet treats.
- Caprese Skewers: Fresh mozzarella, tomatoes, and basil on skewers provide a refreshing bite amidst rich desserts.
- Coleslaw: Crunchy coleslaw adds texture and balances sweetness with its tangy dressing.
- Watermelon Salad: Juicy watermelon cubes tossed with mint create a light, refreshing option that’s great for hot days.
- Deviled Eggs: Classic deviled eggs are always a crowd-pleaser, bringing savory flavors to your dessert table.
Common Mistakes to Avoid
Making 4th of July cakesicles can be fun, but some common mistakes can lead to less-than-perfect results. Here are a few to watch out for:
- Not using enough frosting: The right amount of frosting is crucial for binding the cake. If your mixture is too dry, it won’t hold together. Aim for a dough-like consistency.
- Overfilling the molds: Pressing the mixture too tightly or filling the molds over the top can lead to messy cakesicles. Fill them just enough to form a solid shape without overflowing.
- Skipping the cooling time: Rushing the freezing step can result in cakesicles that fall apart during coating. Make sure they are completely solid before dipping.
- Using low-quality candy melts: Not all candy melts are created equal. Choose high-quality melts for better taste and a smoother finish when coating.
- Drizzling too early: If you drizzle before the coating sets, your colors can bleed together. Wait until the white chocolate has hardened before adding your red and blue drizzle.
Storage & Reheating Instructions
Refrigerator Storage
- Store in an airtight container for up to 5 days.
- Keep layers separated with parchment paper to avoid sticking.
Freezing 4th of July Cakesicles
- Wrap each cakesicle individually in plastic wrap or foil.
- Place them in a freezer-safe container or bag for up to 3 months.
Reheating 4th of July Cakesicles
- Oven: Preheat your oven to 350°F (175°C). Place cakesicles on a baking sheet and warm them for about 5 minutes.
- Microwave: Heat on low power for about 10-15 seconds at a time until slightly soft. Be careful not to overheat.
- Stovetop: Use a double boiler method, placing cakesicles above simmering water until warmed through.
Frequently Asked Questions
Can I customize my 4th of July cakesicles?
Absolutely! You can use any leftover cake flavor and match your frosting accordingly. Experiment with different colors and decorations!
How do I make vegan 4th of July cakesicles?
You can substitute regular frosting with vegan options and use dairy-free chocolate melts for coating. Ensure your cake is also vegan-friendly.
What should I do if my cakesicles are falling apart?
If they crumble, it may be due to insufficient frosting or not freezing long enough. Try adding more frosting or refreezing them before dipping.
Can I make these cakesicles ahead of time?
Yes! You can prepare them a few days in advance and store them in the refrigerator or freeze them for longer shelf life.
How long do these cakesicles last?
When stored properly, they last up to 5 days in the fridge or around 3 months in the freezer. Enjoy them fresh for the best taste!
Final Thoughts
These festive 4th of July cakesicles are not only delicious but also versatile and easy to make. You can customize flavors and decorations, making them perfect for any celebration. Give this recipe a try, and let your creativity shine while celebrating this special holiday!

4th of July Cakesicles
These delightful 4th of July cakesicles are the perfect sweet treat to celebrate Independence Day! Made with leftover cake and frosting, these colorful desserts combine fun and creativity, making them ideal for summer gatherings, BBQs, or picnics. With their vibrant red, white, and blue decorations, they not only taste amazing but also look festive on any dessert table. This easy recipe allows you to customize flavors and toppings, making it a hit for both kids and adults. Get the little ones involved in decorating their own cakesicles for an added layer of fun!
- Total Time: 30 minutes
- Yield: Makes approximately 8 cakesicles 1x
Ingredients
- 3 cups crumbled cake (about half of a 9x13 cake or ½ a boxed cake mix)
- ½ cup vanilla frosting (store-bought or homemade)
- 2 cups white candy melts
- 1 tablespoon refined coconut oil (optional)
- 1 cup powdered sugar
- Red and blue gel food coloring
Instructions
- In a mixing bowl, crumble your leftover cake until fine crumbs form. Mix in the frosting until it holds together.
- Firmly pack the mixture into cakesicle molds, insert popsicle sticks, and freeze for 30 minutes.
- Melt white candy melts in a microwave-safe bowl at 30-second intervals until smooth. Add coconut oil if desired.
- Dip each cakesicle into the melted coating, allowing excess to drip off before placing on parchment paper.
- Mix powdered sugar with water and tint with red and blue food coloring for drizzling over cooled cakesicles.
- Prep Time: 20 minutes
- Cook Time: 10 minutes
- Category: Dessert
- Method: Freezing
- Cuisine: American
Nutrition
- Serving Size: 1 serving
- Calories: 150
- Sugar: 15g
- Sodium: 50mg
- Fat: 6g
- Saturated Fat: 4g
- Unsaturated Fat: 1g
- Trans Fat: 0g
- Carbohydrates: 23g
- Fiber: <1g
- Protein: 1g
- Cholesterol: 10mg
Keywords: For best results, ensure the cakesicle mixture is well-combined to avoid crumbling. Customize your cakesicles by using different cake flavors or sprinkles.